Monitoring and evaluation · Tool 5 of 12
Photo-Point Monitoring
Repeat photographs from documented positions and framing to make visible landscape change easier to compare over time.
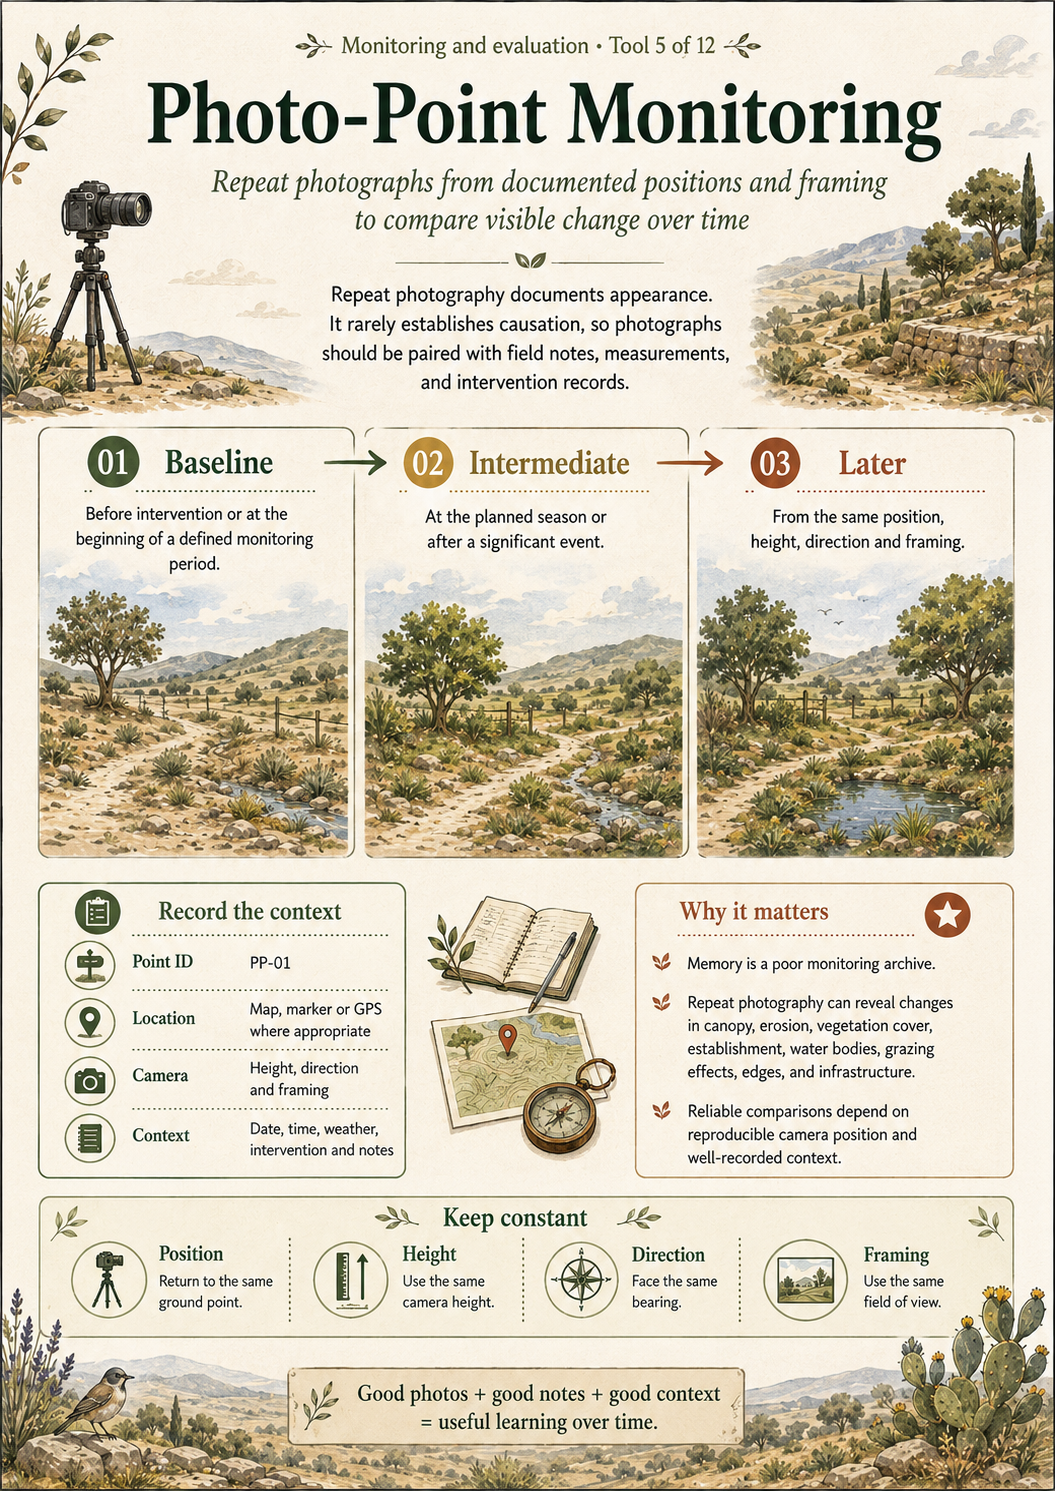
The detailed article and accessible semantic visual below provide the complete HTML text equivalent of the infographic, including its method, cautions and interpretation.
Why this tool matters
Memory is a poor monitoring archive. Repeat photography can reveal changes in canopy, erosion, vegetation cover, establishment, water bodies, grazing effects, edges and infrastructure when the camera position and context are reproducible.
What the tool is
Photo-point monitoring is repeat photography from a defined location, height, direction and framing. It documents appearance. It rarely establishes causation, so photographs should be paired with field notes, measurements and intervention records.
Origins and disciplinary context
Repeat photography is established in natural-resource and landscape monitoring. Its reliability depends on maps, clear field instructions and precise replication rather than photographic polish.
The tool at a glance
Three-frame repeat-photography sequence labelled Baseline, Intermediate and Later, with fields for point identifier, location, camera height, direction, framing, date, time, weather, intervention and notes.
Baseline
Before intervention or at the beginning of a defined monitoring period.
Intermediate
At the planned season or after a significant event.
Later
From the same position, height, direction and framing.
- Point ID
- PP-01
- Location
- Map, marker or GPS where appropriate
- Camera
- Height, direction and framing
- Context
- Date, time, weather, intervention and notes
When to use it
Establish points before and after intervention, seasonally, annually or after significant events. Choose locations that answer the monitoring question and can be relocated safely.
How to use it
- Define what visible change the point should document.
- Assign an identifier and map the camera and subject positions.
- Record camera height, direction, focal length or framing and reference features.
- Capture a clear baseline with date, time, weather and notes.
- Set a repeat interval appropriate to the process.
- Reproduce the view and retain original files.
- Compare photographs alongside measurements and management records.
What to record
Record photo-point identifier, location, GPS where appropriate, camera height, direction, framing, date, time, weather, relevant intervention, observation notes, file name and photographer. Note any unavoidable departure from the protocol.
Worked example
Illustrative example: a woodland-edge point is photographed before selective thinning, after the first growing season and at the same seasonal point the following year. Field notes record ground cover, marked-plant survival and management events so visual differences are not interpreted in isolation.
Connection with Mark’s Diploma practice
Design 08 repeatedly names photo monitoring or photo journalling alongside field journals and drone flyovers. The source supports repeat visual feedback as part of adaptive management, not a verified before-and-after causal study.
Diploma source locators
- Design 08, PDF page 4: photo monitoring and drone flyovers.
- Design 08, PDF page 23: regular photo monitoring and drone flyovers for visual feedback.
- Design 08, PDF page 30: field journals, photo monitoring and drone flyovers.
- Design 08, Appendix 03, PDF page 75: visual change tracking.
Interpreting the results
Compare equivalent conditions and describe visible differences before explaining them. Use other evidence to test whether a management action, season, drought, grazing or camera mismatch could account for the change.
Limitations
- Framing can omit important change outside the view.
- Light, season and camera settings alter appearance.
- A photograph does not measure many below-ground or compositional changes.
- Images can create false confidence about cause.
Common mistakes and misuse
- Failing to map or mark the point.
- Changing height, lens or direction without noting it.
- Selecting only flattering views.
- Losing original filenames or context.
Relationship to other Library tools
Reflection and application questions
- What visible question does each point answer?
- Could another observer reproduce the photograph from your record?
- What non-photographic evidence is needed?